Whether you’re at home or off the UW network, there are a number of resources available to remotely access your computer.
Network Connection Requirements
Initiate Husky OnNet
- Locate and launch the application BIG-IP Edge Client
Windows: Click the Start button in the Windows taskbar, search for Big.
Macs: Open the Applications folder through the finder.
- Click Big-IP Edge Client to open Husky OnNet.
- Click Connect, this will launch the VPN and secure a connection to the UW network.
- Log in with your UWNetID credentials
- A red circular f5 icon in the Windows taskbar indicates that you are securely connected.
- Continue with the next step.
Launch Microsoft Remote Desktop
Windows
- Click Start
- Type “remote”
- Click on Remote Desktop Connection
Create a Remote Desktop Connection
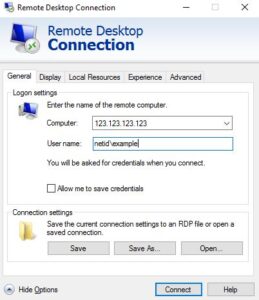
- Click Show Options
- Enter the computer name or IP address
- Enter your username as netid\yournetid (or adai\, wanprc\ instead of netid if you are on those domains)
- Leave the box unchecked next to “Allow me to save credentials”
- You can also configure your remote connection to use all of your monitors, your local webcam, microphone, printer, etc. using the following instructions.
Monitors
- Click the Display tab
- Check the box next to Use all my monitors for the remote session
Microphone
- Click on the Local Resources tab
- Click Settings beneath Remote Audio
- Select Record from this computer

- Click OK
Home Printer
To be able to print to your local printer while remotely connected to your work computer, check the box next to Printers on the Local Resources tab
Webcam
- Click More at the bottom of the Local Resources tab
- Check the box next to Video capture devices
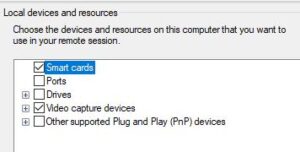
- Click OK.
- When you are done selecting the devices you wish to use, click on the General tab again. Click Save to save the connection or Save As to create an icon specifically for this connection you can use in the future (on your desktop or wherever you like)
- Click Connect
- If it asks you if you trust the connection, click Yes
- Type in your password
- Click OK and you will be logged into your computer
If you are using a UW-owned mobile device supported by ASA-IS to work from home, please follow the instructions below to process Windows updates.
Connect to Husky On Net or ADAI VPN
Before you can connect to our servers to run the updates, you must first connect to Husky OnNet VPN or, if you are an ADAI employee, the ADAI VPN.
Running the Updates
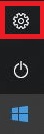
- Click on the Windows Start button in your taskbar
- Click on the gear icon [ Screenshot ]
- Click on “Update and Security” [ Screenshot ]
- Click on the gray button “Check for updates”
Note: do not click on the “Check online for updates from Microsoft Update” button. Those updates are not vetted by ASA-IS yet and may cause issues with your system. [ Screenshot ]
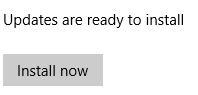
- You will receive one of two messages – that your computer is up to date or provided a list of updates to download. You may have to click an “Install now” button to install the updates. [ Screenshot ]
- Once updates are installed, you may be prompted to restart your computer to finish installing updates. [ Screenshot ]
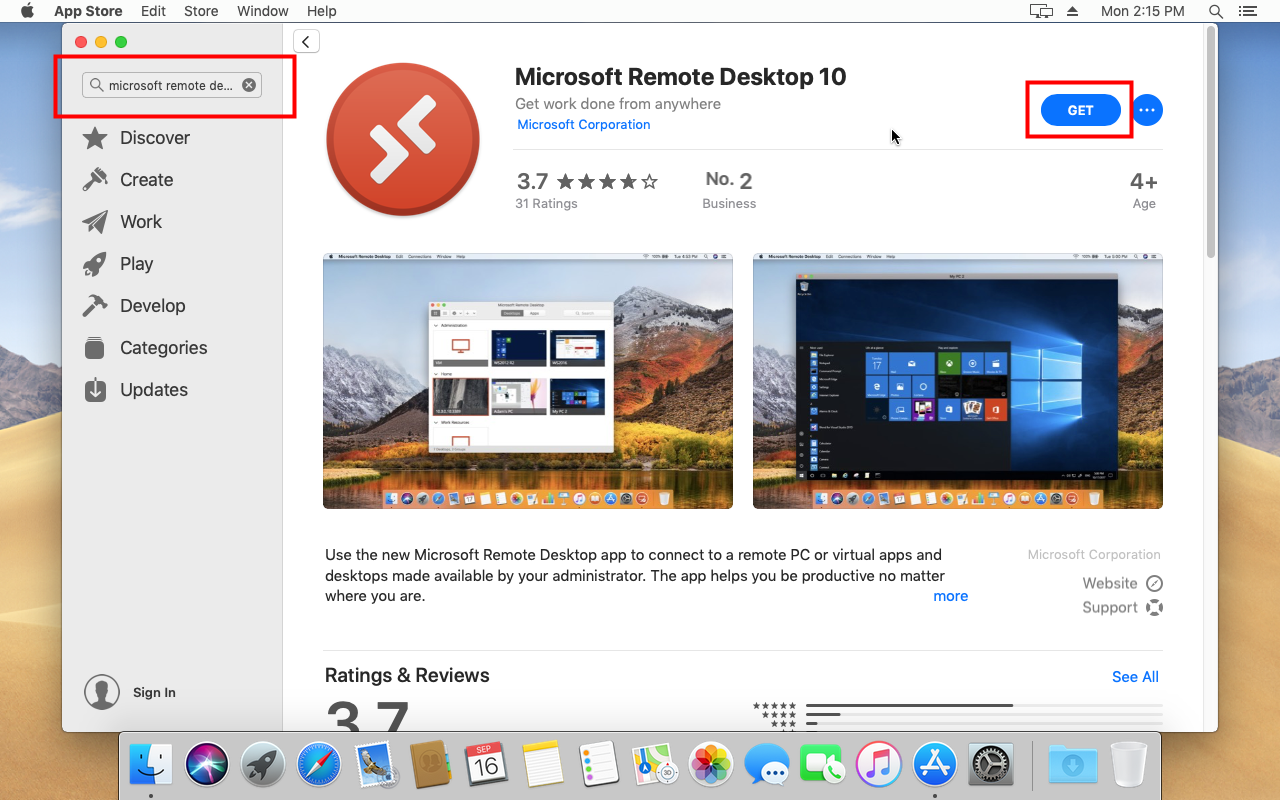
Download and install Microsoft Remote Desktop 10 from the App Store

Once installed, follow these steps to add your workstation computer from your office:
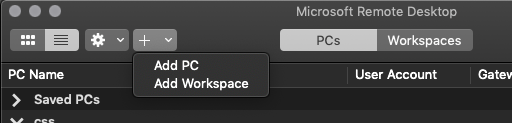
- Launch Microsoft Remote Desktop 10.
- Click the “+” symbol located at the top of the window. [ Screenshot ]
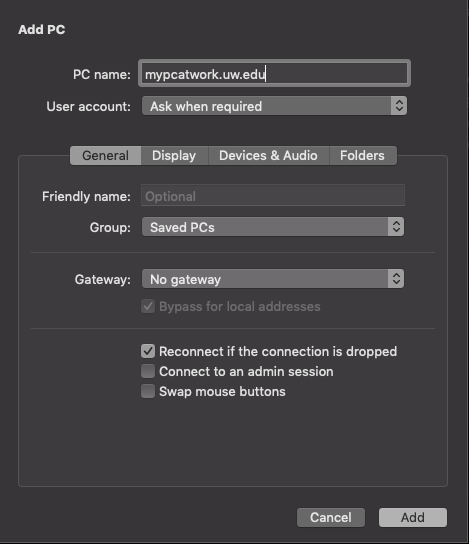
- Click Add PC.
- Enter your work computer’s name or IP address. If you do not know the PC name please contact us. Alternately, you may enter your computer’s IP address if known. [ Screenshot ]
- You may enter an optional name to identify your Windows 10 connection under Friendly name.
- Optional:
- Click the Display tab. [ Screenshot ]
- Click to add a check mark on Use all monitors.
- Follow the next steps to complete your remote session.
- Click Devices & Audio tab. [ Screenshot ]
- Place a checkmark on these items: Clipboard | Microphone | Cameras
- Confirm that Play Sound setting is set to: On this computer
- Click Add.
Test your connection setup
- Double-click the remote session that you have created.
- Enter your username and password, for example:
- Username: netid\ your_netid
- Password: your_netid_password
- Click Connect.
- A warning message will appear stating if you want to trust the connection, click Continue.
If you are not able to connect or you receive an error message that you do not have permission or any other error messages, please confirm your configuration.
Outlook Web App (OWA) is an online interface you can use to access your UW email and calendar from anywhere. Your desktop Outlook and the Outlook Web App are synced, so you don’t have to worry about missing emails or transferring anything between the two. While it does not have all the functionality of the desktop application form of Outlook, it is a handy resource to use when you are remote or on the go.
- Go to Outlook OWA for UW
- Type in your @uw.edu email (example@uw.edu)
- Click Next
- A message appears: Taking you to your organization’s sign-on page
- A UW NetID login page will come up – sign in with your UW NetID and password
- After you sign in you will be redirected to the Outlook Web App

In Outlook, click on the calendar icon in the taskbar, then follow the instructions for the corresponding action: Share a Calendar | Modify Calendar Permissions | Open a Calendar [ Screenshot ]
Share a Calendar
- Click on the calendar you would like to share from the sidebar menu – your personal calendar is under My Calendars as Calendar
- Click Share Calendar from the main menu within the Home tab of Outlook
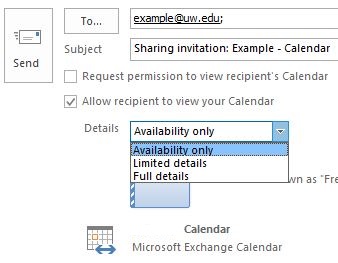
- Type in the email address of the person you would like to share your calendar with or click the To… button to search for them [ Screenshot ]
- If you’d like access to their calendar, check the box next to Request permission to view recipient’s Calendar
- Check the box next to Allow recipient to view your Calendar
- Click the drop-down box next to Details and select one of the three options, described below:
- Availability only: Shows details like “Free” and “Busy”
- Limited details: Shows availability and the subject of calendar items
- Full details: Shows availability and all details of calendar items
- Click Send
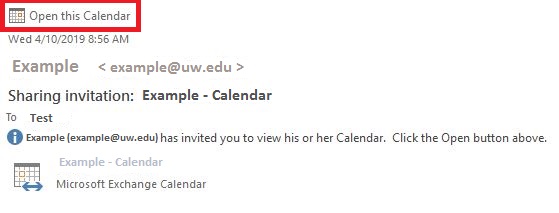
- The recipient will then receive an email from you – they only need to open the email and click on Open this Calendar to view your calendar [ Screenshot ]
Modify Calendar Permissions
- Click on the calendar you would like to set permissions for from the sidebar menu – your personal calendar is under My Calendars as Calendar
- Click on Calendar Permissions in the toolbar in the Home tab in Outlook
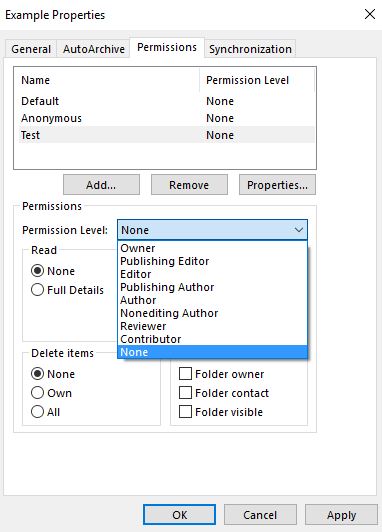
- Find the person whose permissions you would like to edit and click their name
- Below, you can either give custom permissions or select preset permission settings from the drop-down menu next to Permission Level – you can check what accesses different presets give by selecting them and seeing how they change the four categories of Read, Write, Delete items, and Other [ Screenshot ]
- Click OK
Open a Calendar
- Click on the Open Calendar icon on the toolbar at the top of the Outlook window
- Click From Address Book
- Type in the name of the person whose calendar you would like to access and press Enter on your keyboard
- Double click their name
- Click OK
Open the People screen by clicking on the People icon in the taskbar. [ Screenshot ]
Share all your Outlook contacts
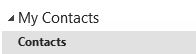
- In the main menu make sure Contacts is selected [ Screenshot ]
- Continue to Sharing and Opening Contacts
Share Specific Contacts
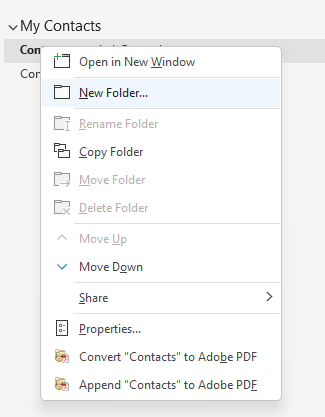
- In the My Contacts menu, right-click on Contacts and select New Folder [ Screenshot ]
- Give the folder a name and click OK
- Click on the new folder you have created
- Continue to Share and Open Contacts
Share and Open Contacts
- Click on Share Contacts in main menu [ Screenshot ]
- Enter the email of the person you want to share your contacts with or click To… to search for them
- Check to box next to Recipient can add, edit and delete items in this contact folder if you would like them to have that ability
- Click Send
- The recipient will then double click the email they receive &
- Click Open this Contacts folder in the menu
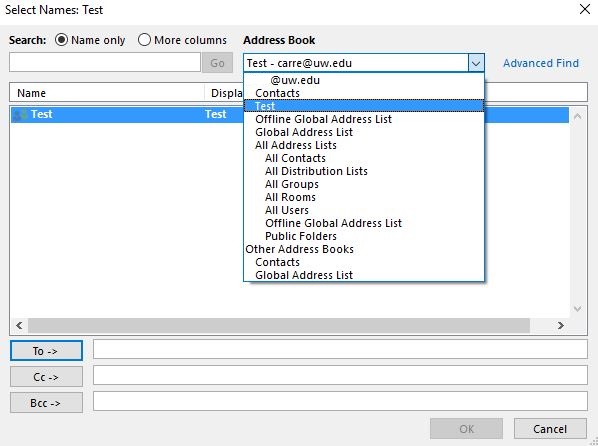
- To send an email to the contacts or group, open a new message
- Click Address Book in the menu
- Click the drop-down menu to choose the shared folder, select the contacts or groups to send to and click OK [ Screenshot ]
A Mailman distribution list can be used to send an email to a group of people large or small by sending an email to one address. They are requested from and managed by UW IT.
Request: Fill out and submit this Standard Mailman List Request form [NetID required] to create a UW Mailman distribution list.
Management: Review the Owners and Moderators Guide to get more information about how to manage a distribution list.
Administration: Use this shortcut to your list’s admin page – https://mailman.u.washington.edu/mailman/admin/listname/
Subscribers: UW-IT provides additional information about subscribing to and accessing distribution lists.
Delete: Fill out and submit this Mailman Delete Request form [NetID required] to delete a UW Mailman distribution list.
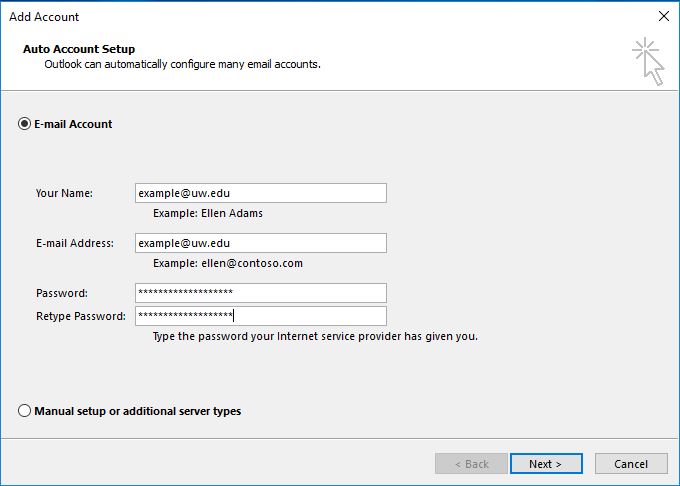
When you log in to a computer for the first time, you’ll need to set up your email on Outlook. Thankfully it only takes a minute!
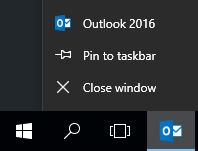
- Click the Start button in the lower left-hand corner of your screen
- Type “Outlook”
- Click on “Outlook 2016″
- Optional: An Outlook icon will appear on your taskbar – to pin it there, right-click on the icon and select Pin to taskbar
- If you are on the UW NetID domain, Outlook will automatically grab your name and email. Otherwise, type in your name, your email and your password and click Next

- Outlook will then connect to the account, at which point a Windows Security window will pop up asking for your credentials – input your UW NetID password and click OK
- If successful, you will receive the message “Congratulations! Your email account was successfully configured and is ready to use” – click Finish
It will take a couple of minutes or longer depending on the size of your email account to download your emails.
Troubleshooting
- Double check your password – you can try logging into MyUW to make sure your NetID and password are working. If you cannot log into MyUW, try resetting your password or calling UW IT at 206-221-5000 for password assistance.
- Make sure you are putting your full @uw.edu email address.
- In the event that Outlook is set up but are not receiving any emails, follow the steps in Change UW Email Forwarding to make sure your email is forwarded correctly.
