Access to network shared drives and some other resources is controlled by UW Groups. Membership in a group can open up access to certain folders on network shares. ASA-IS can help you identify which groups you are the owner of, which groups control access to what resource, and help you manage membership of those groups. Here is a quick guide on how to add and remove employees from a group.
-
- Go to Groups Service Management
- If prompted, login with your NetID credentials
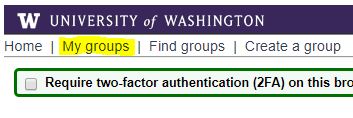
- Click My Groups in the upper left-hand corner of the page
-
- Find the group you wish to add/remove users from and click on the purple link below the bold name
Note: AN ASA-IS technician can help you identify the correct group if you are unsure about which one to choose - Click on Membership
Tip: If this is a group you administer frequently, you can bookmark this page directly instead of going through steps 1-4.
- Find the group you wish to add/remove users from and click on the purple link below the bold name

- Type in the NetID of the user(s) you wish to add or remove in their respective boxes
- You can enter multiple NetIDs at a time by writing each NetID as a separate line in the Add Members or Remove Members box
Tip: You can add and remove users at the same time (such as removing a former employee and adding their replacement) - After you’ve entered all the NetIDs, click the Do It button
- Once the operation completes, you can close your browser
- The people you added to the groups may need to log out of their computer and log back in