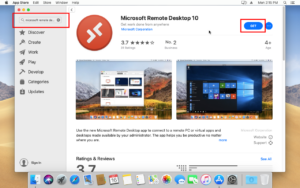
Download and install Microsoft Remote Desktop 10 from the App Store
Once installed, follow these steps to add your workstation computer from your office:
- Launch Microsoft Remote Desktop 10.
- Click the “+” symbol located at the top of the window. [ Screenshot ]
- Click Add PC.
- Enter your work computer’s name or IP address. If you do not know the PC name please contact us. Alternately, you may enter your computer’s IP address if known. [ Screenshot ]
- You may enter an optional name to identify your Windows 10 connection under Friendly name.
- Optional:
- Click the Display tab. [ Screenshot ]
- Click to add a check mark on Use all monitors.
- Follow the next steps to complete your remote session.
- Click Devices & Audio tab. [ Screenshot ]
- Place a checkmark on these items: Clipboard | Microphone | Cameras
- Confirm that Play Sound setting is set to: On this computer
- Click Add.
Test your connection setup
- Double-click the remote session that you have created.
- Enter your username and password, for example:
- Username: netid\ your_netid
- Password: your_netid_password
- Click Connect.
- A warning message will appear stating if you want to trust the connection, click Continue.
If you are not able to connect or you receive an error message that you do not have permission or any other error messages, please confirm your configuration.
