Access to network shared drives and some other resources is controlled by UW Groups. Membership in a group can open up access to certain folders on network shares. ASA-IS can help you identify which groups you are the owner of, which groups control access to what resource, and help you manage membership of those groups. Here is a quick guide on how to add and remove employees from a group.
-
- Go to Groups Service Management
- If prompted, login with your NetID credentials
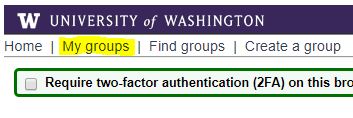
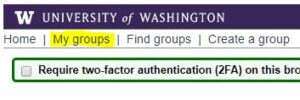
- Click My Groups in the upper left-hand corner of the page
-
- Find the group you wish to add/remove users from and click on the purple link below the bold name
Note: AN ASA-IS technician can help you identify the correct group if you are unsure about which one to choose
- Click on Membership
Tip: If this is a group you administer frequently, you can bookmark this page directly instead of going through steps 1-4.
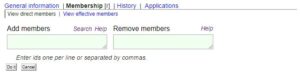
- Type in the NetID of the user(s) you wish to add or remove in their respective boxes
- You can enter multiple NetIDs at a time by writing each NetID as a separate line in the Add Members or Remove Members box
Tip: You can add and remove users at the same time (such as removing a former employee and adding their replacement)
- After you’ve entered all the NetIDs, click the Do It button
- Once the operation completes, you can close your browser
- The people you added to the groups may need to log out of their computer and log back in
Use these instructions to connect to your departmental network shared folders.
Note: If you are connecting from off the UW network or from a different UW domain, please first connect via the Husky OnNet
Windows 10
- Right-click the Start button located in the lower-left-hand corner of the screen
- Click on File Explorer
- In the navigation pane of File Explorer, click This PC
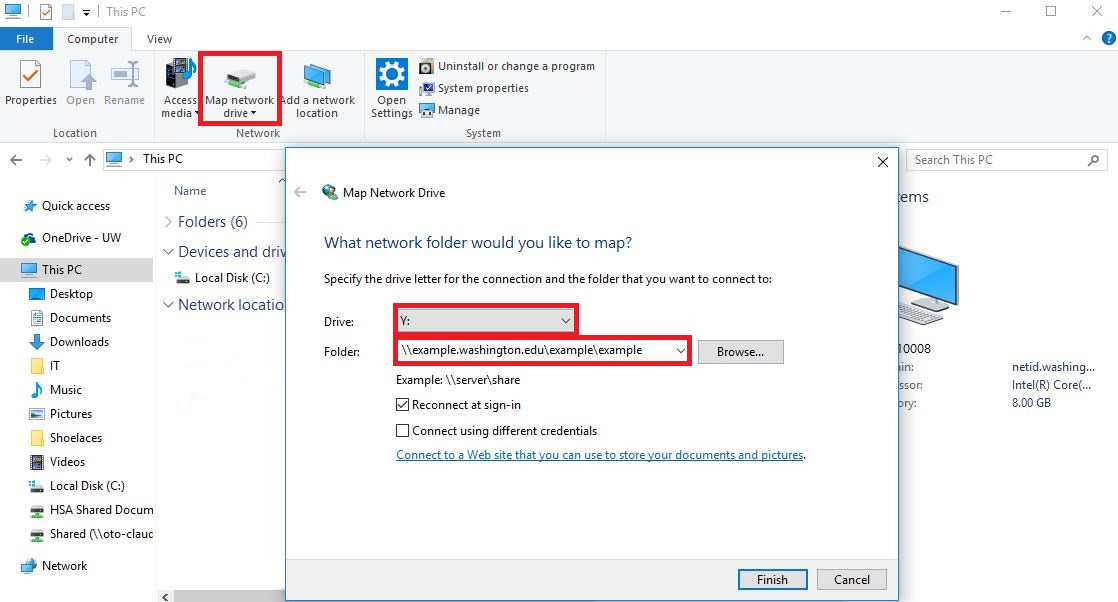
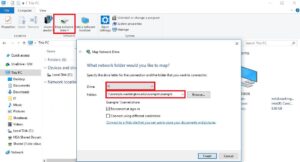
- Under the Computer tab, click Map Network Drive
- Choose a drive letter – this is a placeholder but if your department has standardized which letter to use (“Open the P drive,” for example – a list of folders is presented) then assign that letter
- Paste in or type the address of the network share you are trying to access
- If you are connecting from off the UW network or a different domain than the share you are connecting to, please jump to Connecting With UW Credentials
- Click Finish.
Windows 7
Map a network drive to get to it from Computer or Windows Explorer without having to look for it or type its network address each time.
- Click the Start button
- Click Computer
- Click Map Network Drive in the toolbar at the top of the window
- Choose a drive letter – this is a placeholder but if your department has standardized which letter to use
(“Open the P drive,” for example – a list of folders is presented) then assign that letter
- Paste in or type the address of the network share you are trying to access
- If you are connecting from off the UW network or a different domain than the share you are connecting to, please jump to Connecting With UW Credentials
- Click Finish
Mac
- If you are not on campus, connect to the VPN, Husky OnNet (BIG-IP Edge client)
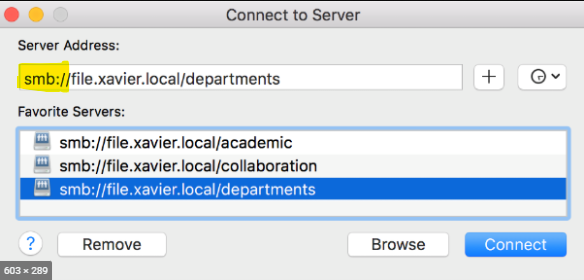
- On the Mac keyboard, press the Command key + k. This will bring up Connect to Server window.
- Type in smb:// before the file path, – for example:
smb://**enter_your_filepath_here**
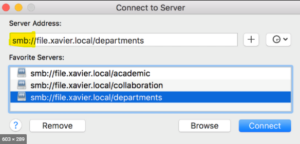
- Click the + button, located at the bottom left of the window. This will add it to the Favorites in the Connect to Server window.
- Click Connect and enter your UW NetID credentials, if prompted.
Permanently Mount the Drive After a Restart
- Open ‘System Preferences‘ from the Apple menu. It is located at the top left of the desktop, click the Apple icon.
- Click, ‘Users & Groups‘
- Click ‘Login Items‘ at the top-center of the ‘Users & Groups’ window.
- Click the ‘+‘ symbol, located directly at the bottom-center of the window.
- Click the shared drive that you just mounted.
- Now select the directory you want to mount permanently.
- Exit out of System Preferences.
Connect with UW Credentials
Use these instructions if you are connecting from off of the UW network or to a different UW domain.
Note: If you have added your drive previously but it shows as disconnected, check your connection to the VPN and then try opening the drive again.
Windows 7/10
- Make sure the box next to Connect using different credentials is checked
- Click Finish
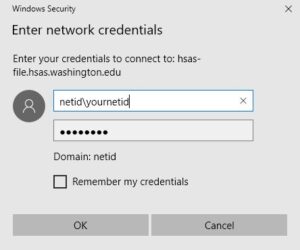
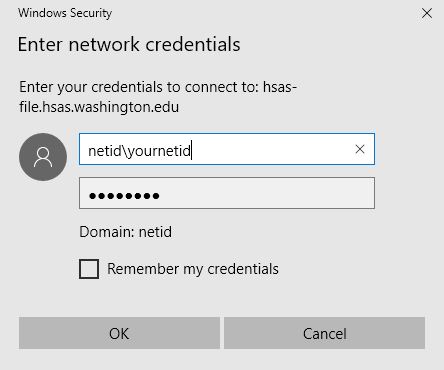
- You will be prompted for your username and password – put in your username as
netid\youruwnetid or the domain you are connecting to, for example, adai\adaiusername or wanprc\wanprcusername
- Input the corresponding password
- Click OK.